
Grant Role Assignment Permission in Azure
This page shows users how to grant role assignment permission in Azure.
To properly connect Secberus to Azure, you will need to grant role assignment permission to the necessary resources.
-
Navigate to the Subscription or Resource group you would like to grant roles regarding.
-
From the resource Overview page, select the Access control (IAM) tab on the left side of the screen:

Select 'Access control (IAM)'
- Click the +Add button.
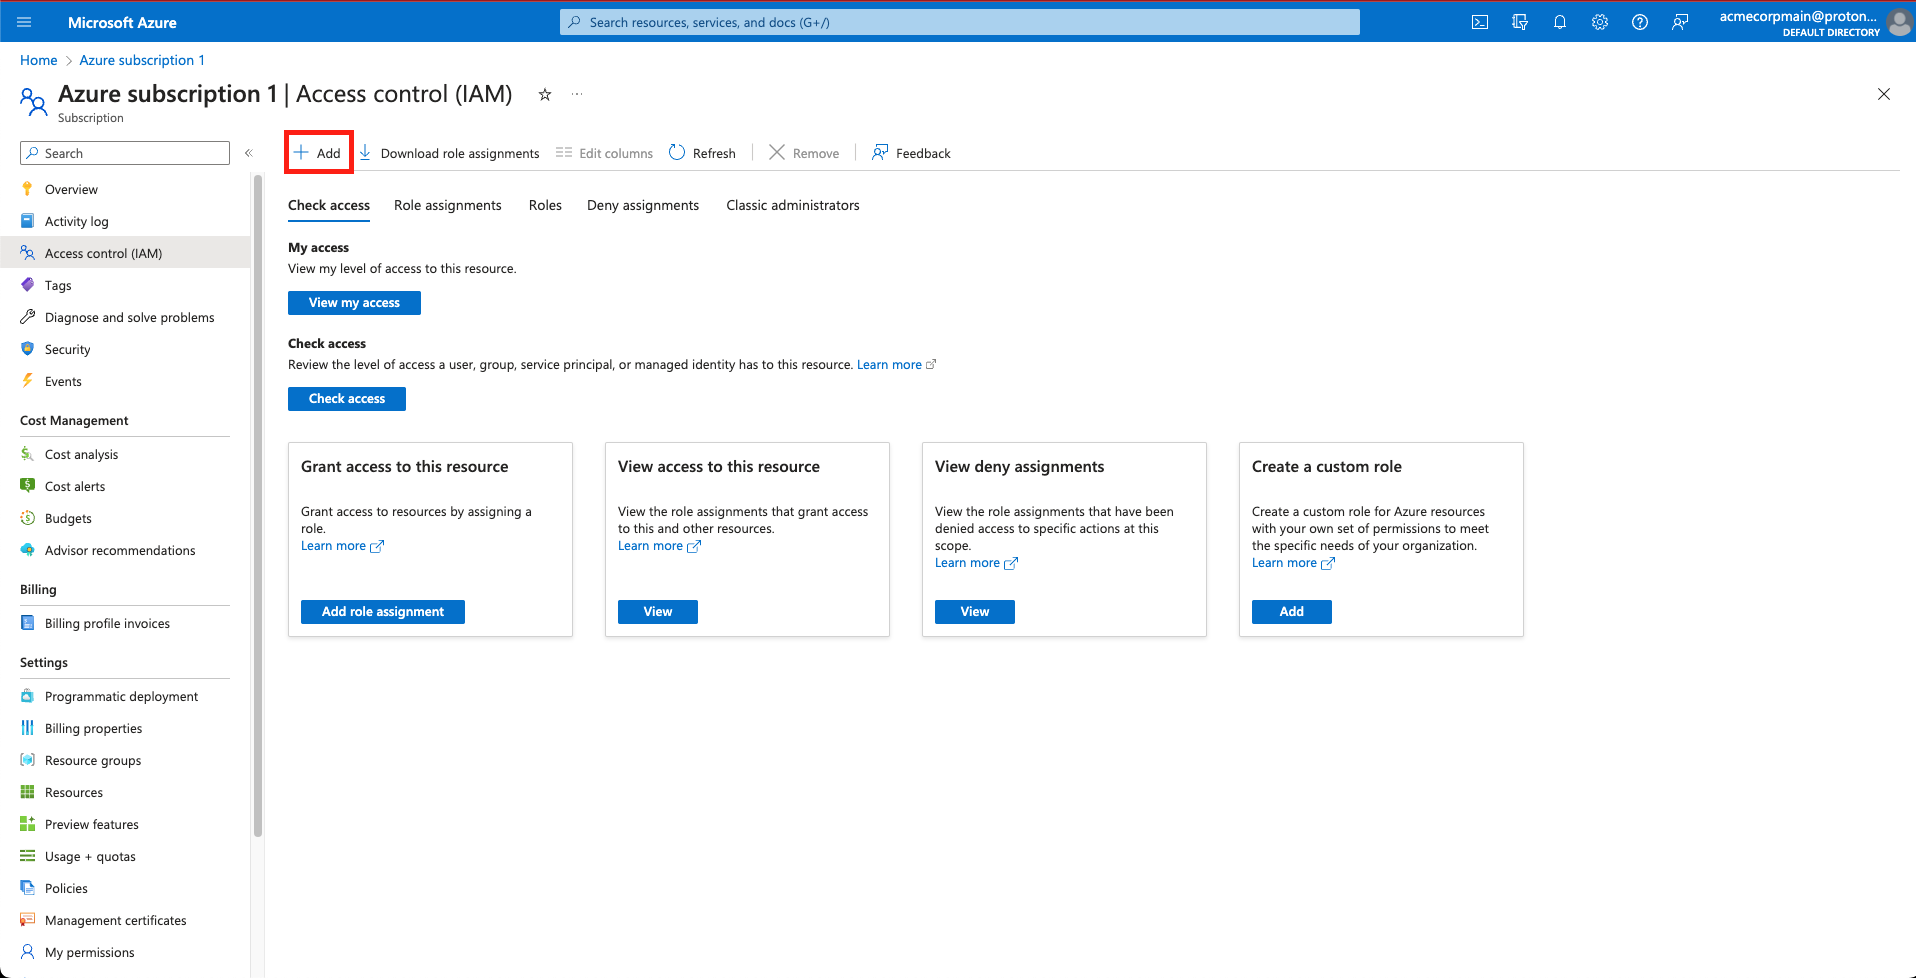
Select 'Add'
- Select Add custom role from the dropdown menu.
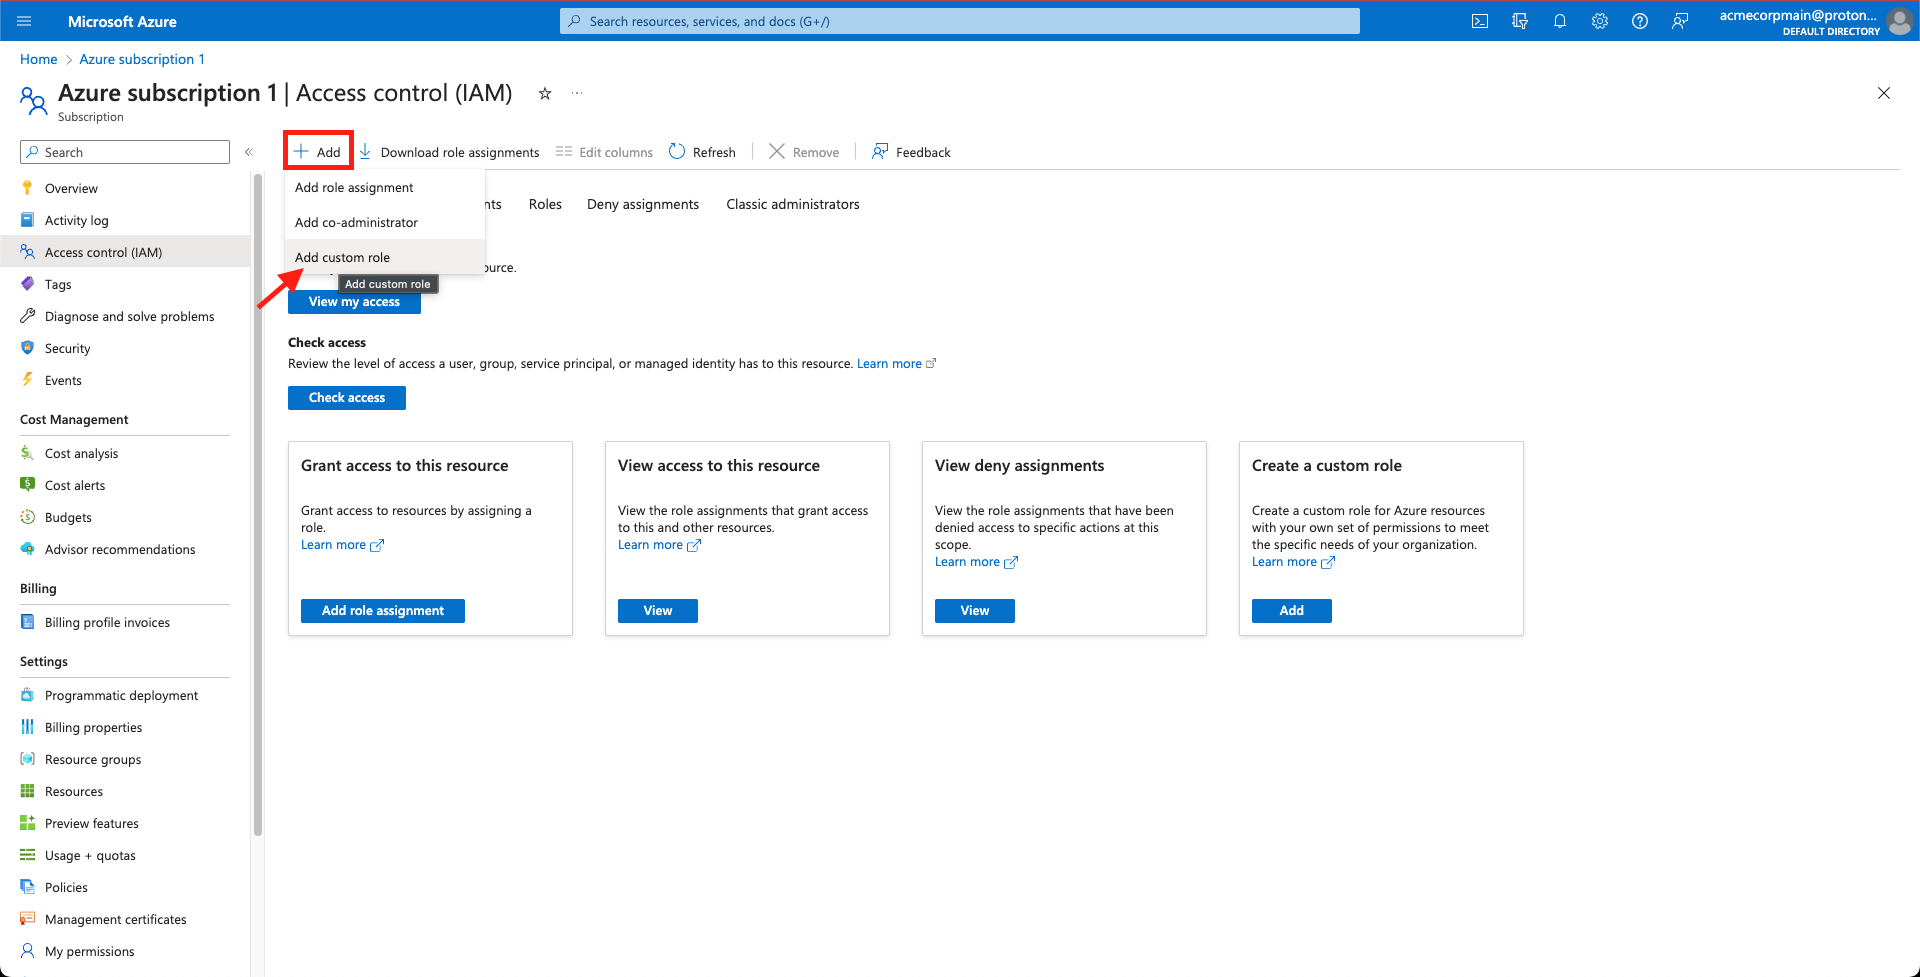
Select 'Add custom role'
- Populate the Custom role name and Description fields and select Next.
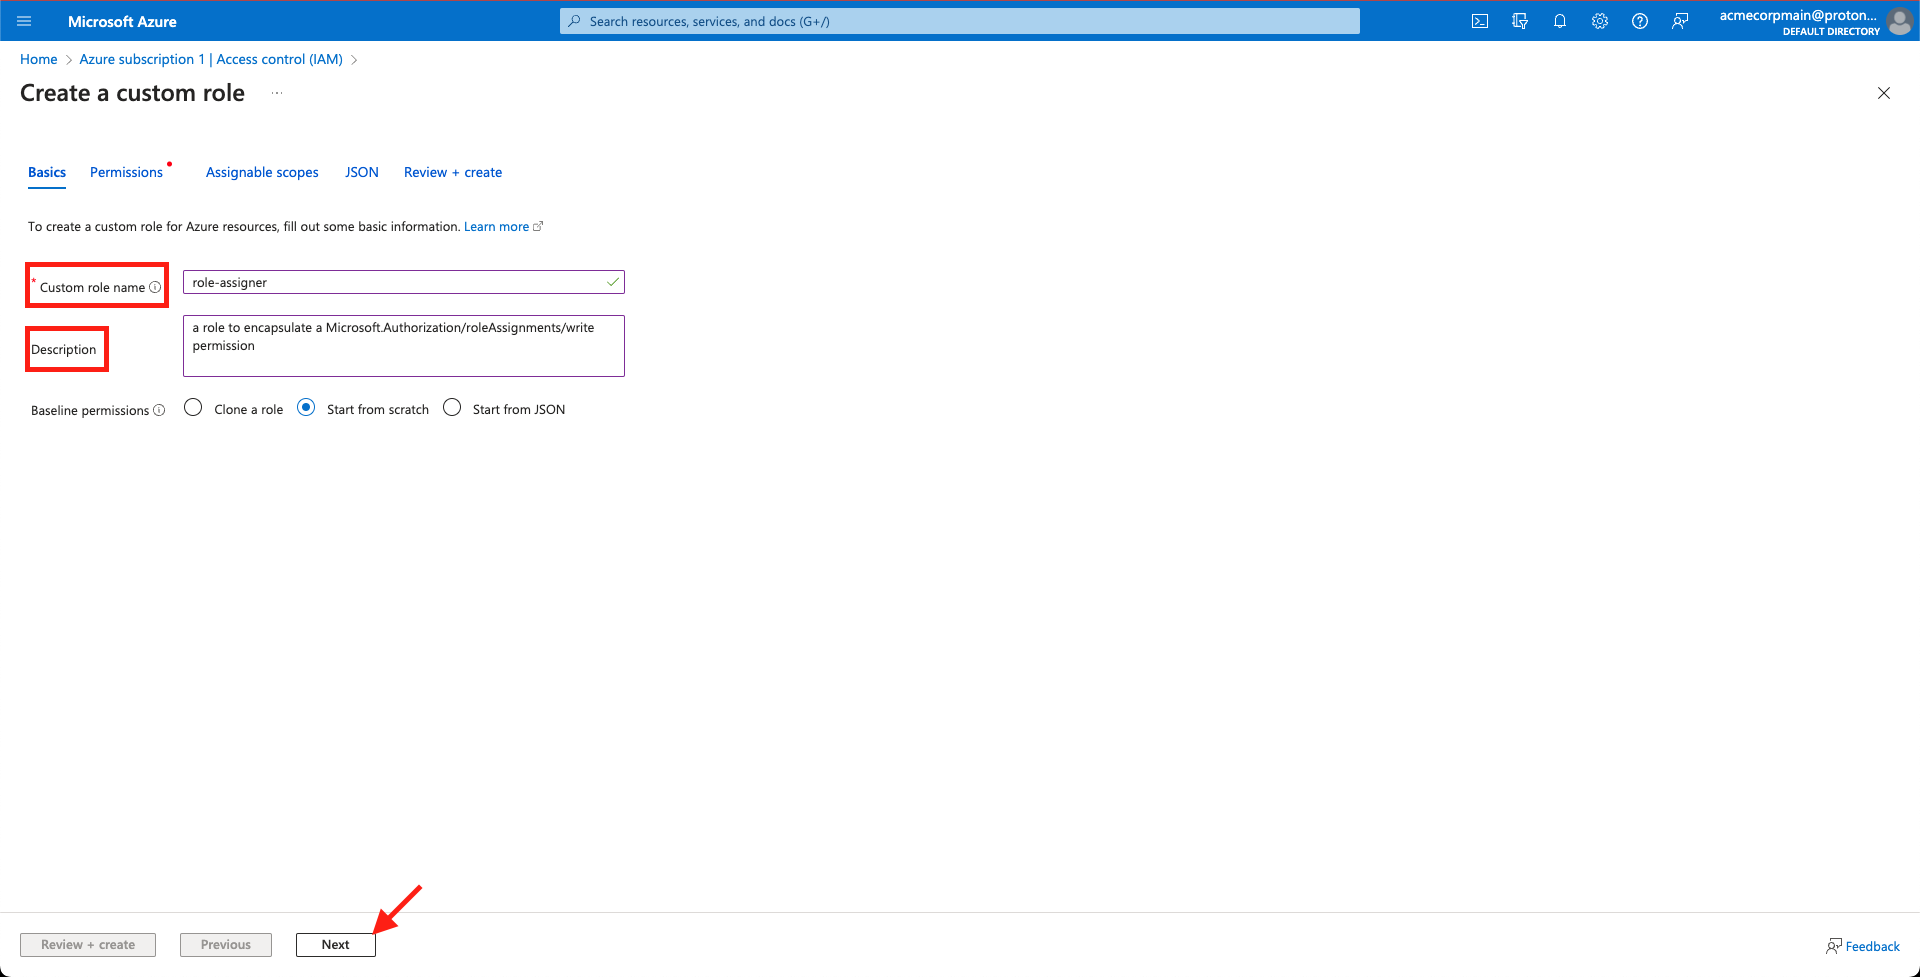
Populate 'Custom role name', populate 'Description', and select 'Next'
- Select + Add permissions.
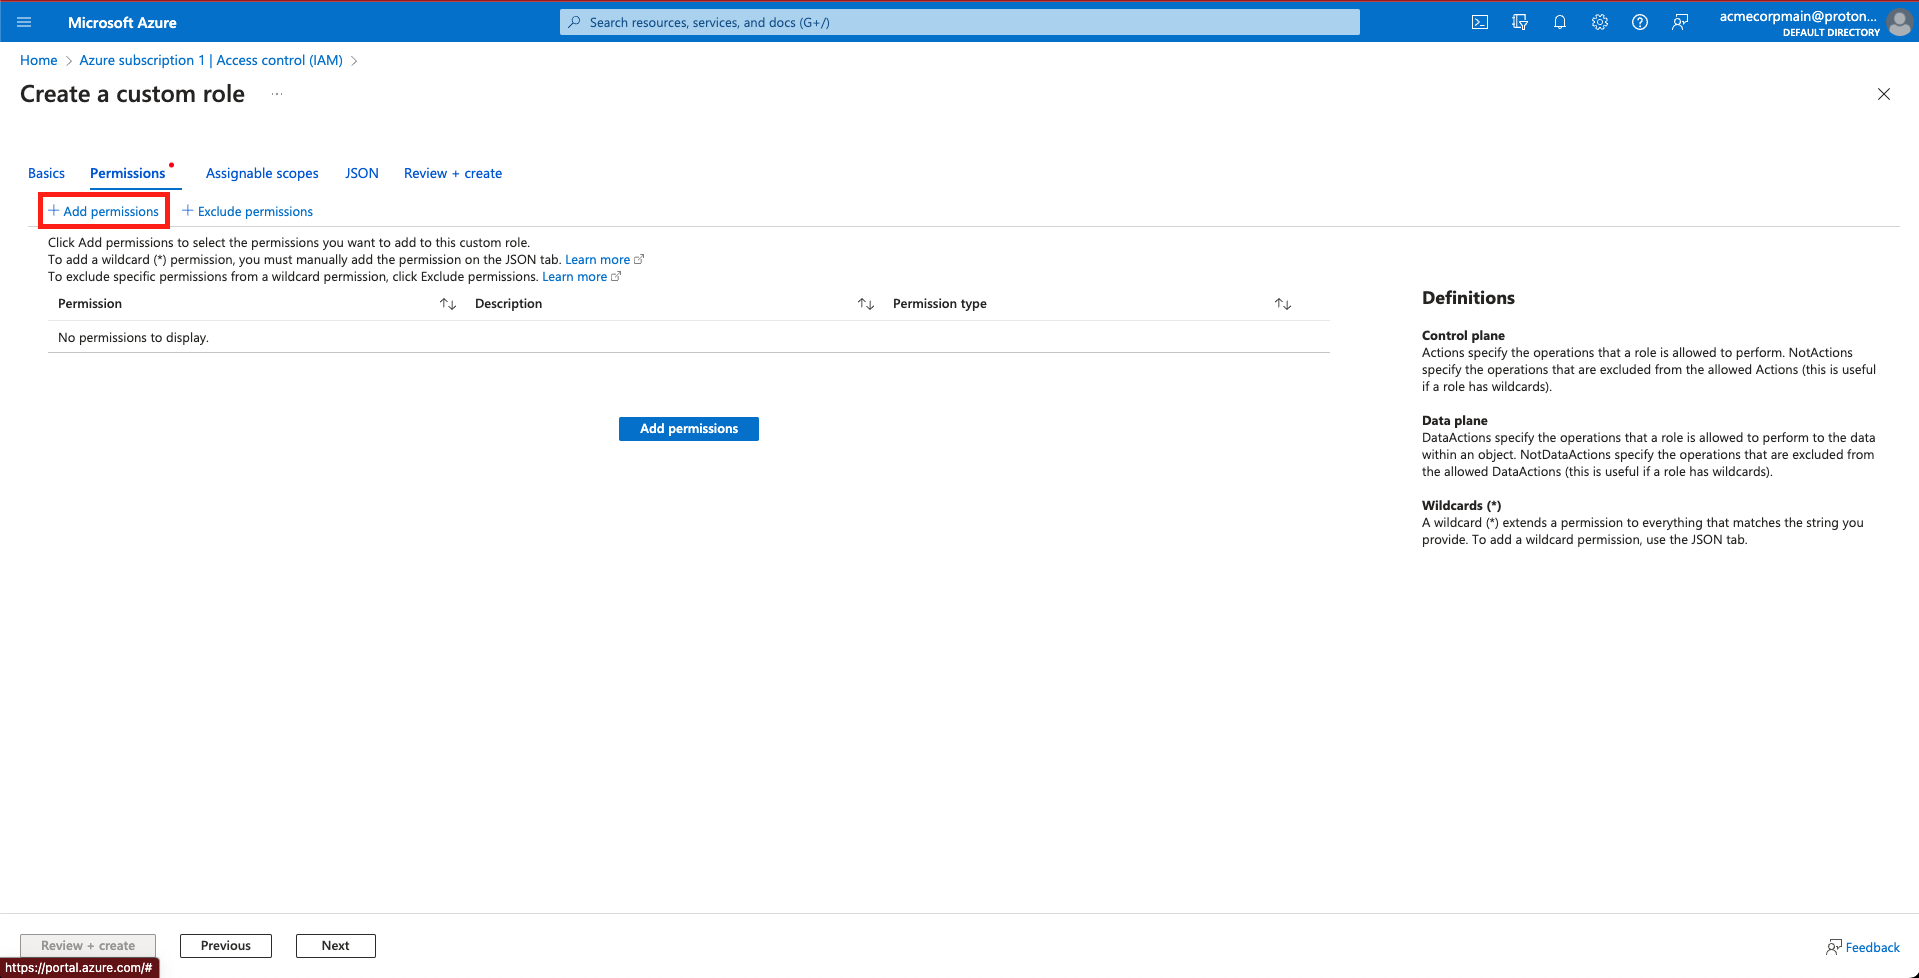
Select '+ Add permissions'
- Search for 'roleAssignments' under Add permissions and select Microsoft Authorization
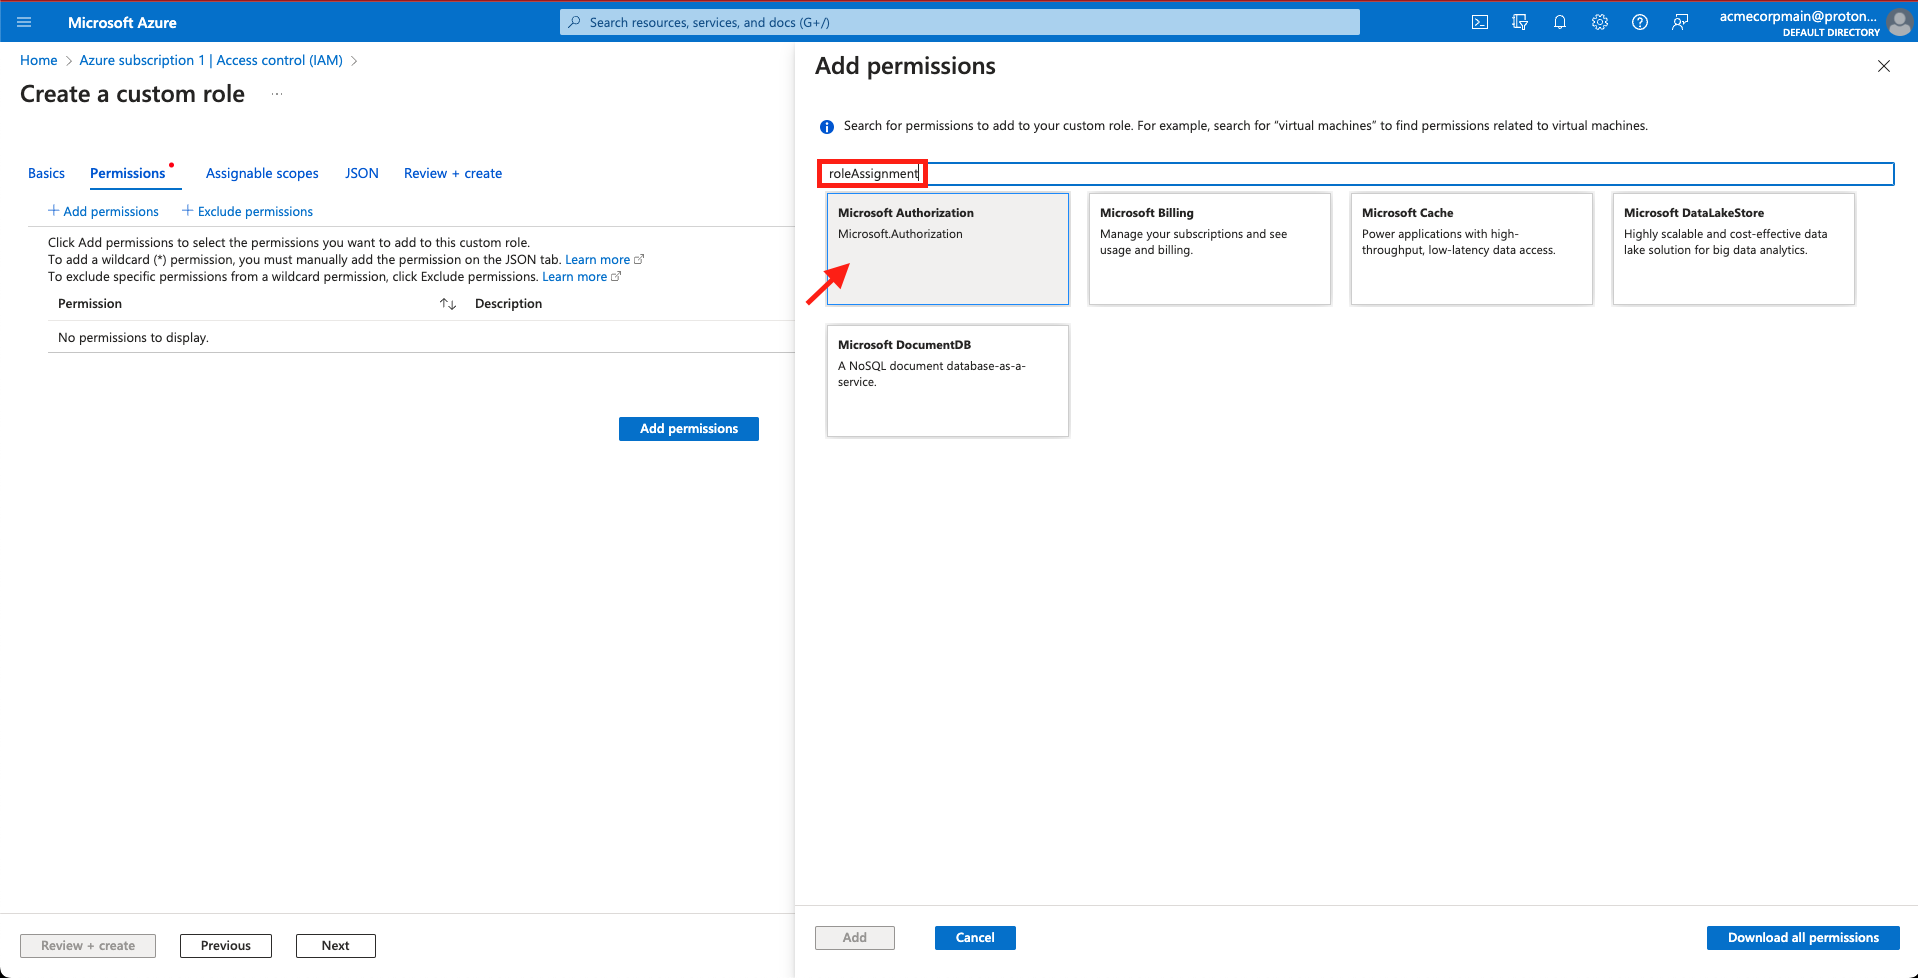
Search for and select 'Microsoft Authorization'
- Mark the checkboxes to select the Read, Write, & Delete permissions for Microsoft.Authorization/roleAssignments and click Add.
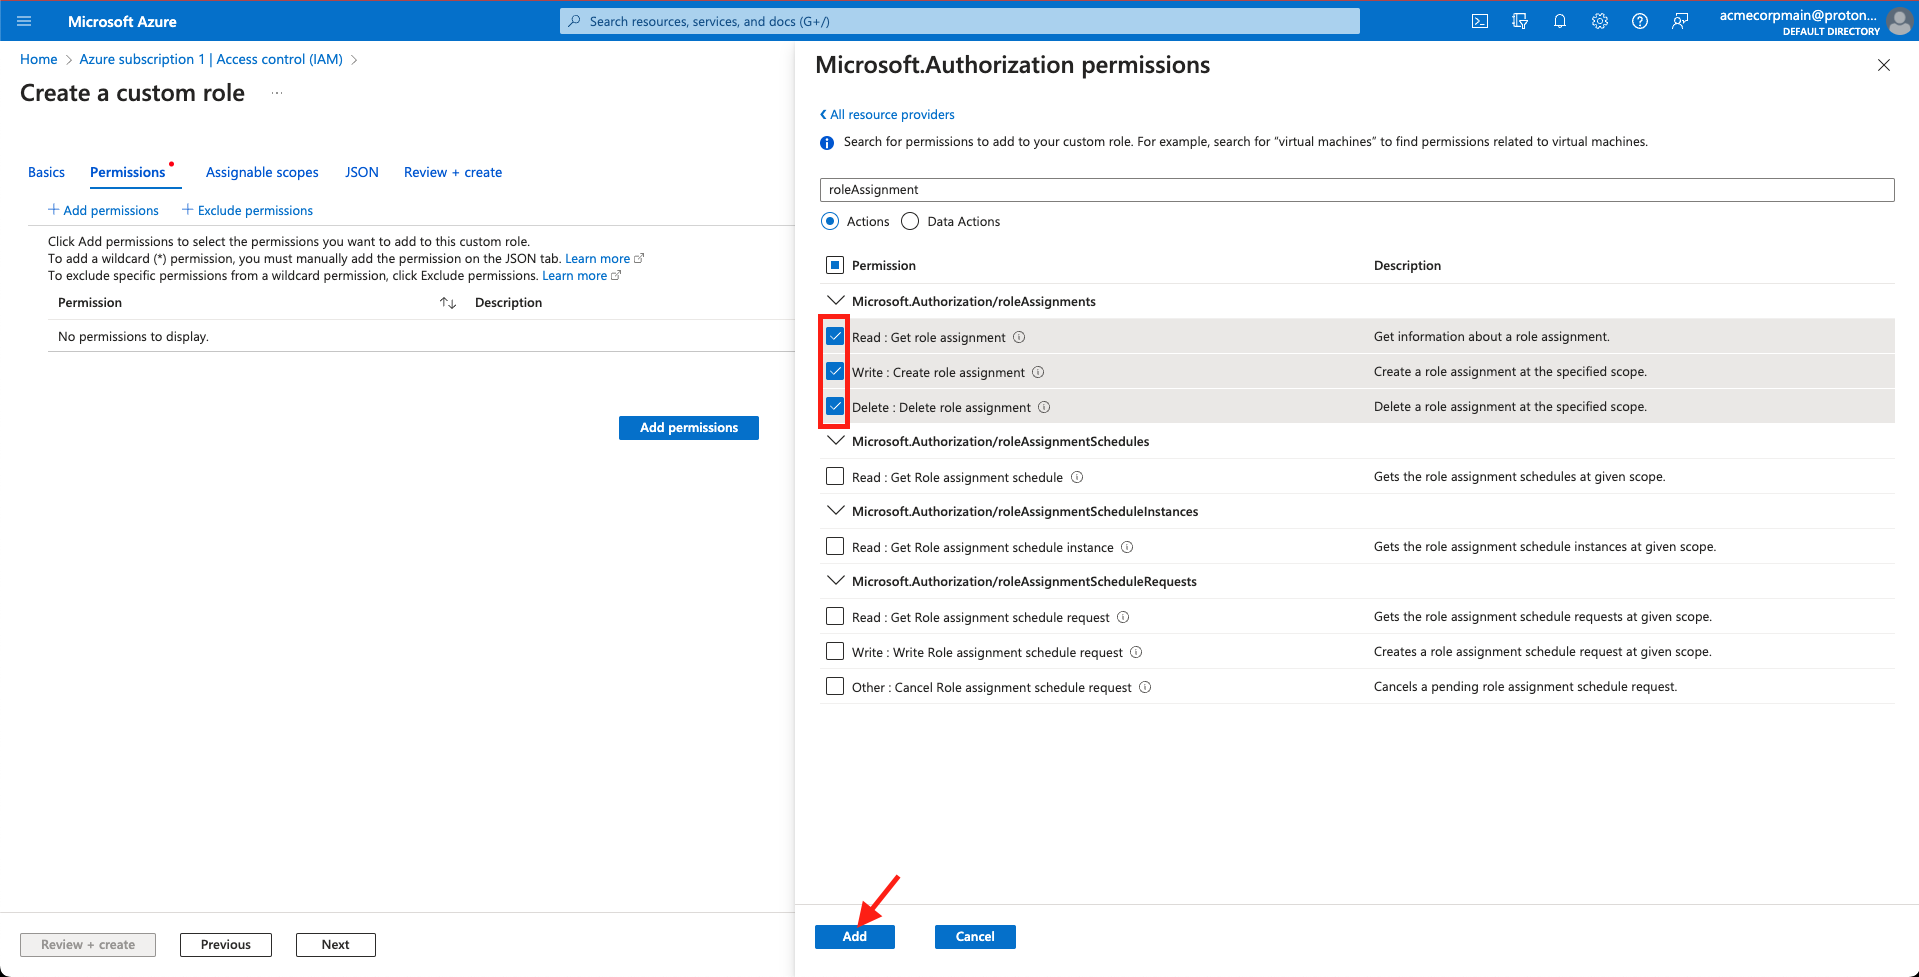
Mark 'Read', 'Write', and 'Delete' permissions and click 'Add'
- Confirm the permissions were added and select Review + create.
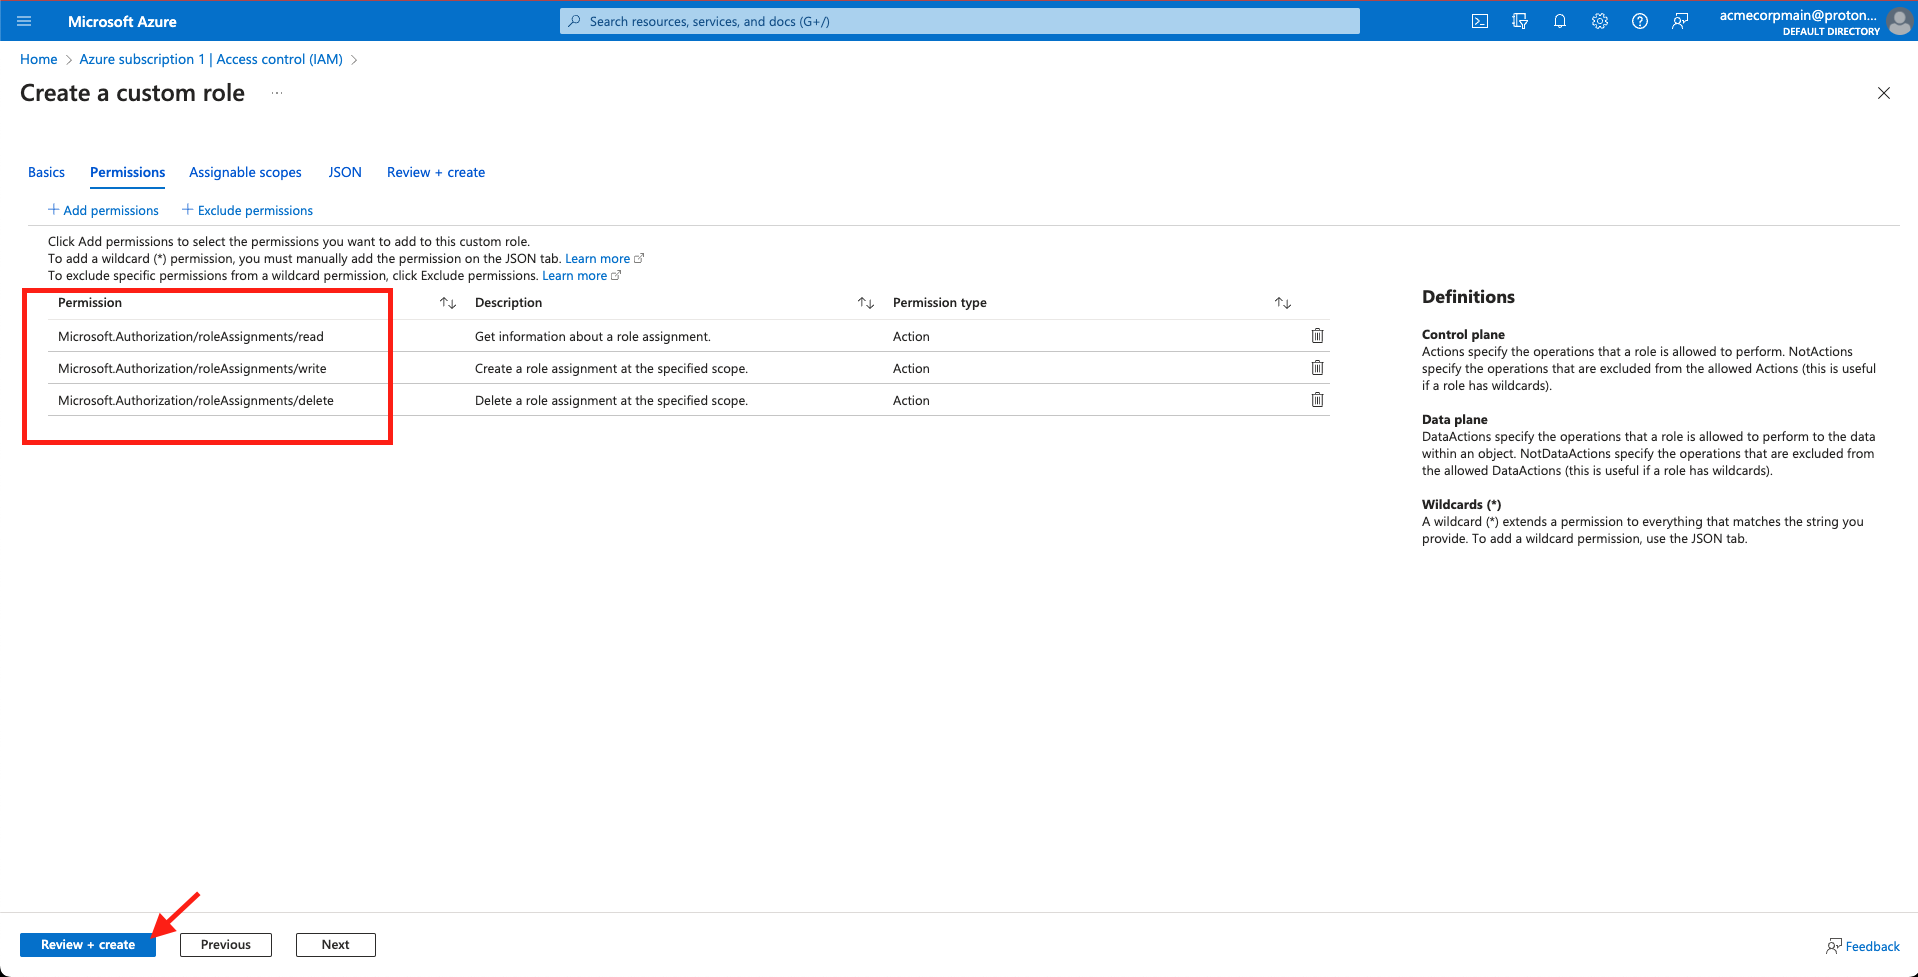
Select 'Review + create'
- Select the Review + create tab, confirm once again you’ve selected the correct permissions & resource scope, and click Create.
Check the scope
- The scope should read as either:
- /subscriptions/ for a Subscription
- /subscriptions//resourceGroups/ for a Resource Group
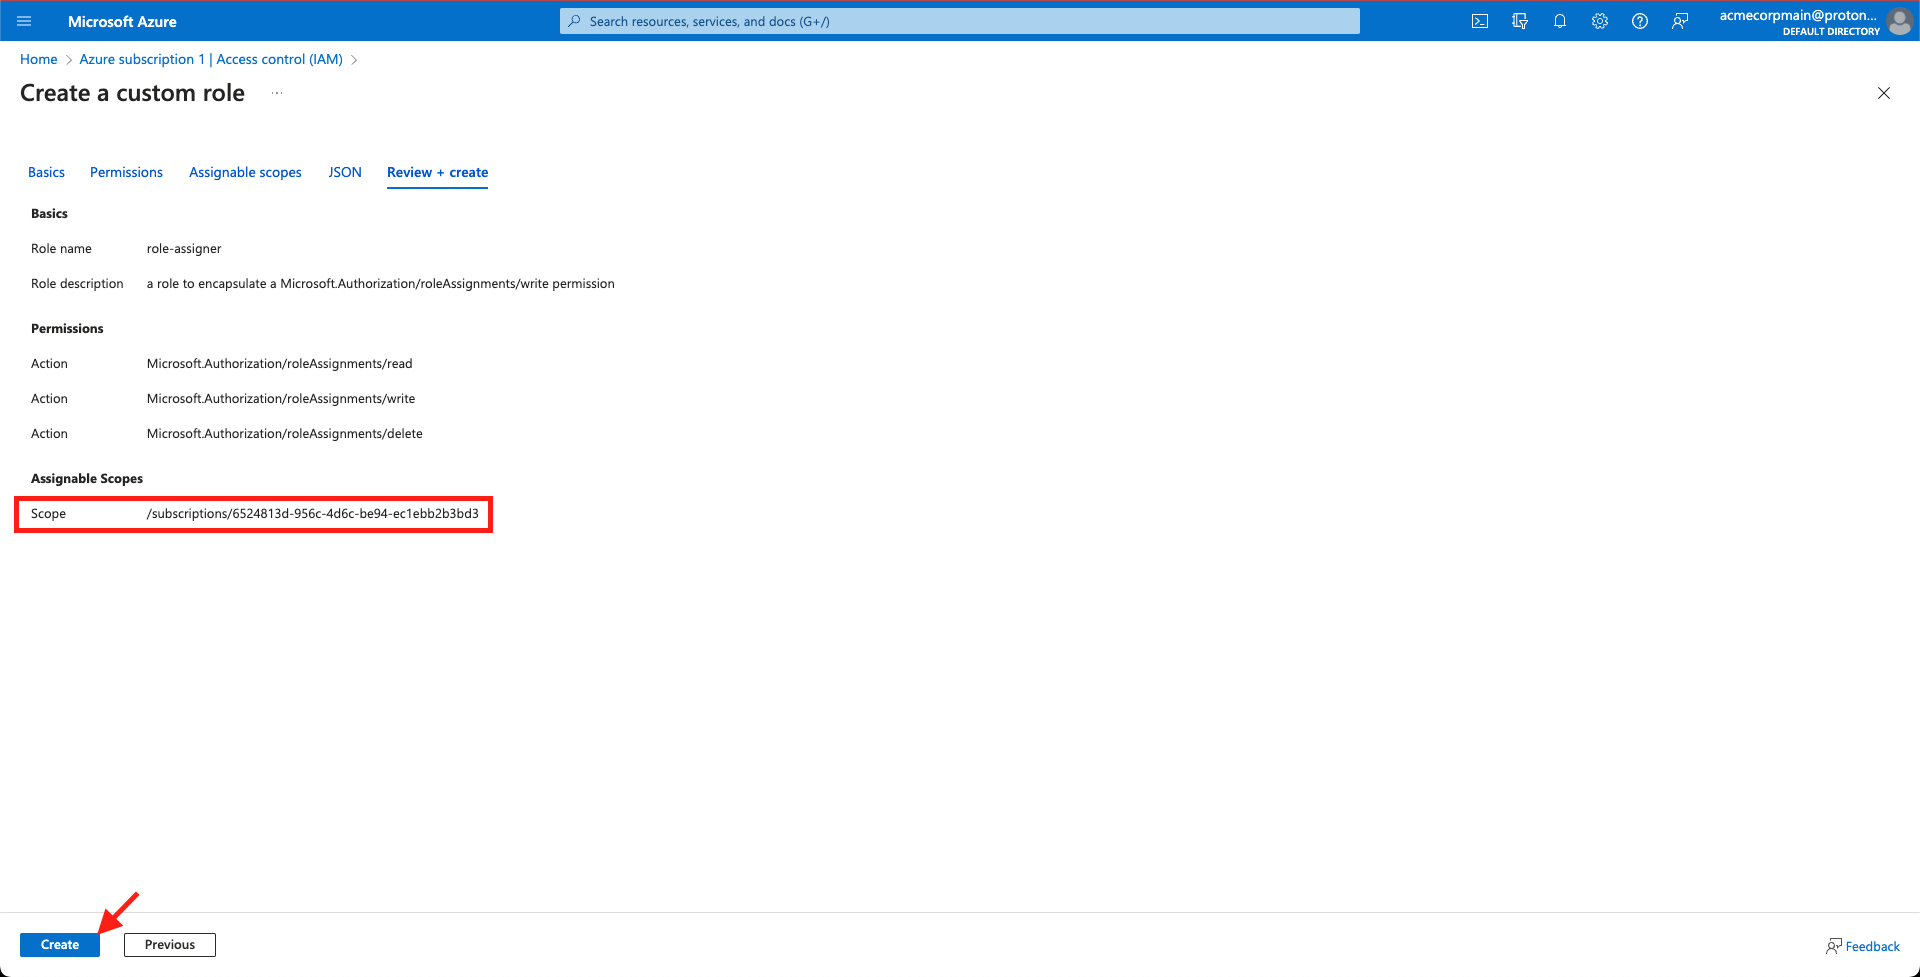
Select 'Create'
- Select OK to confirm the custom role has been created.
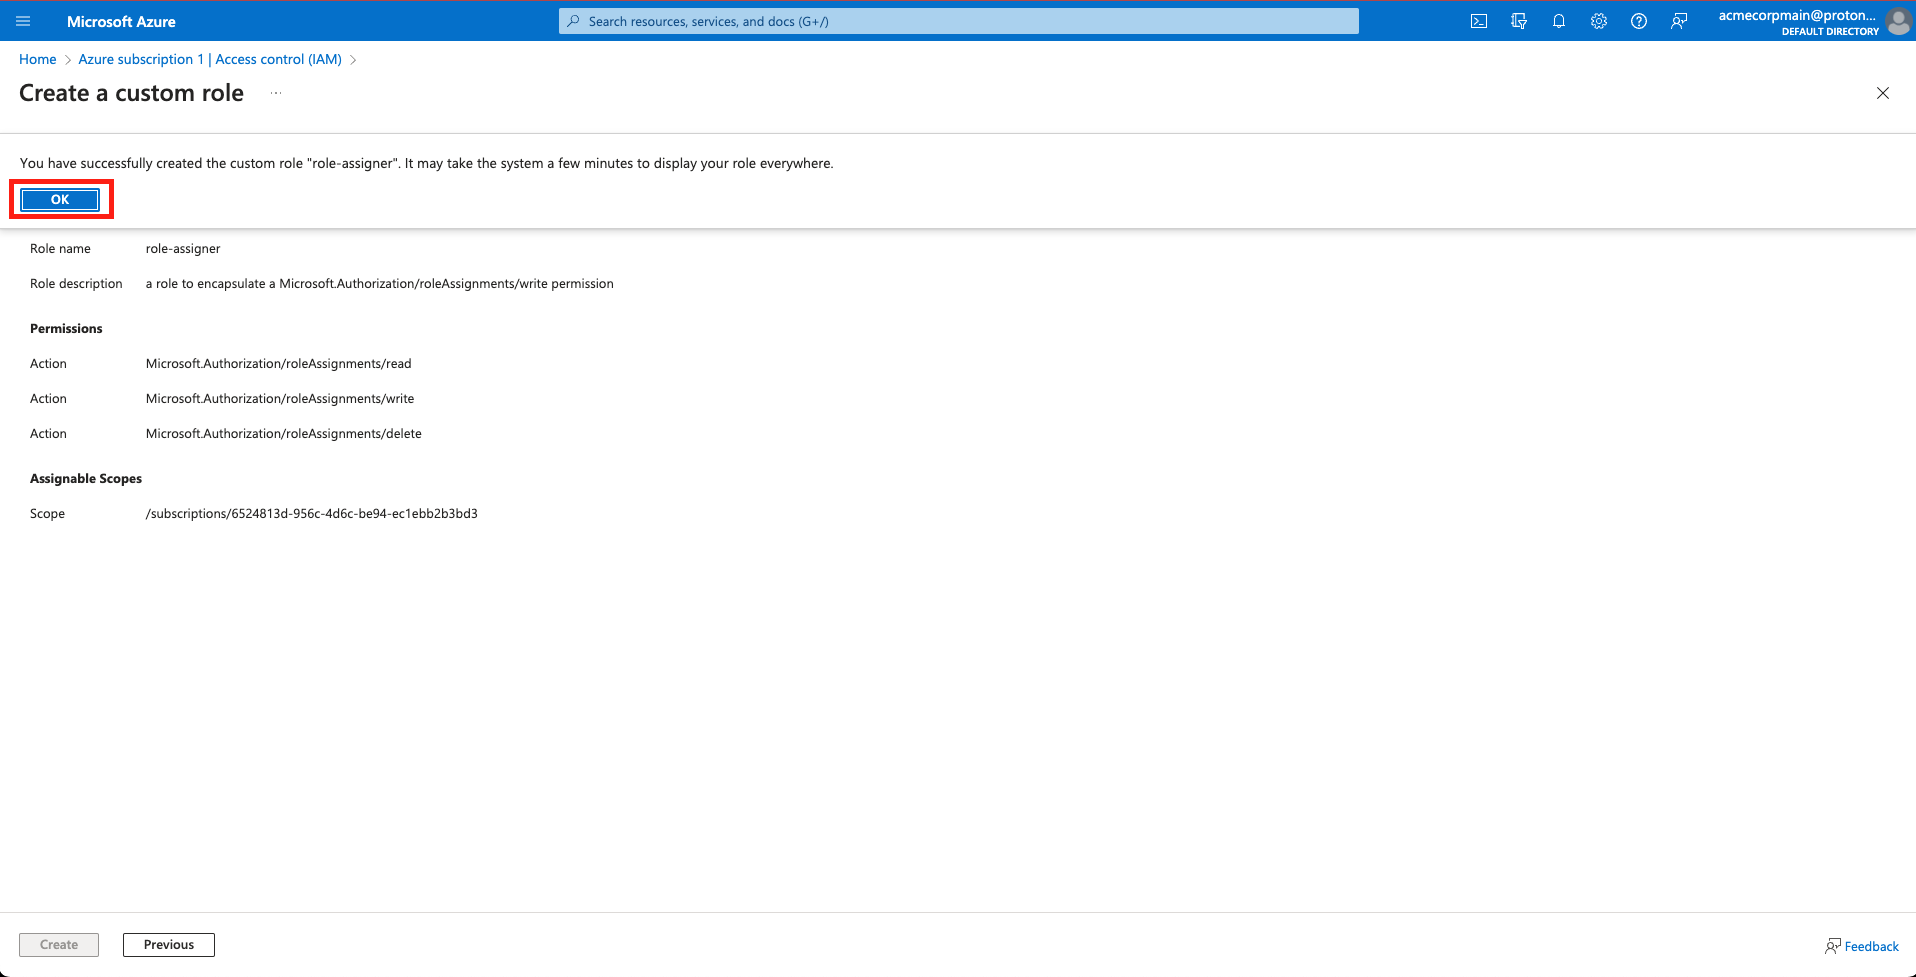
Select 'OK'
- You will be directed back to the Access control (IAM) tab for your resource. Select Add role assignment under the + Add dropdown menu.

Select 'Add role assignment'
- Leave the Assignment type set to Job function roles and select Next.
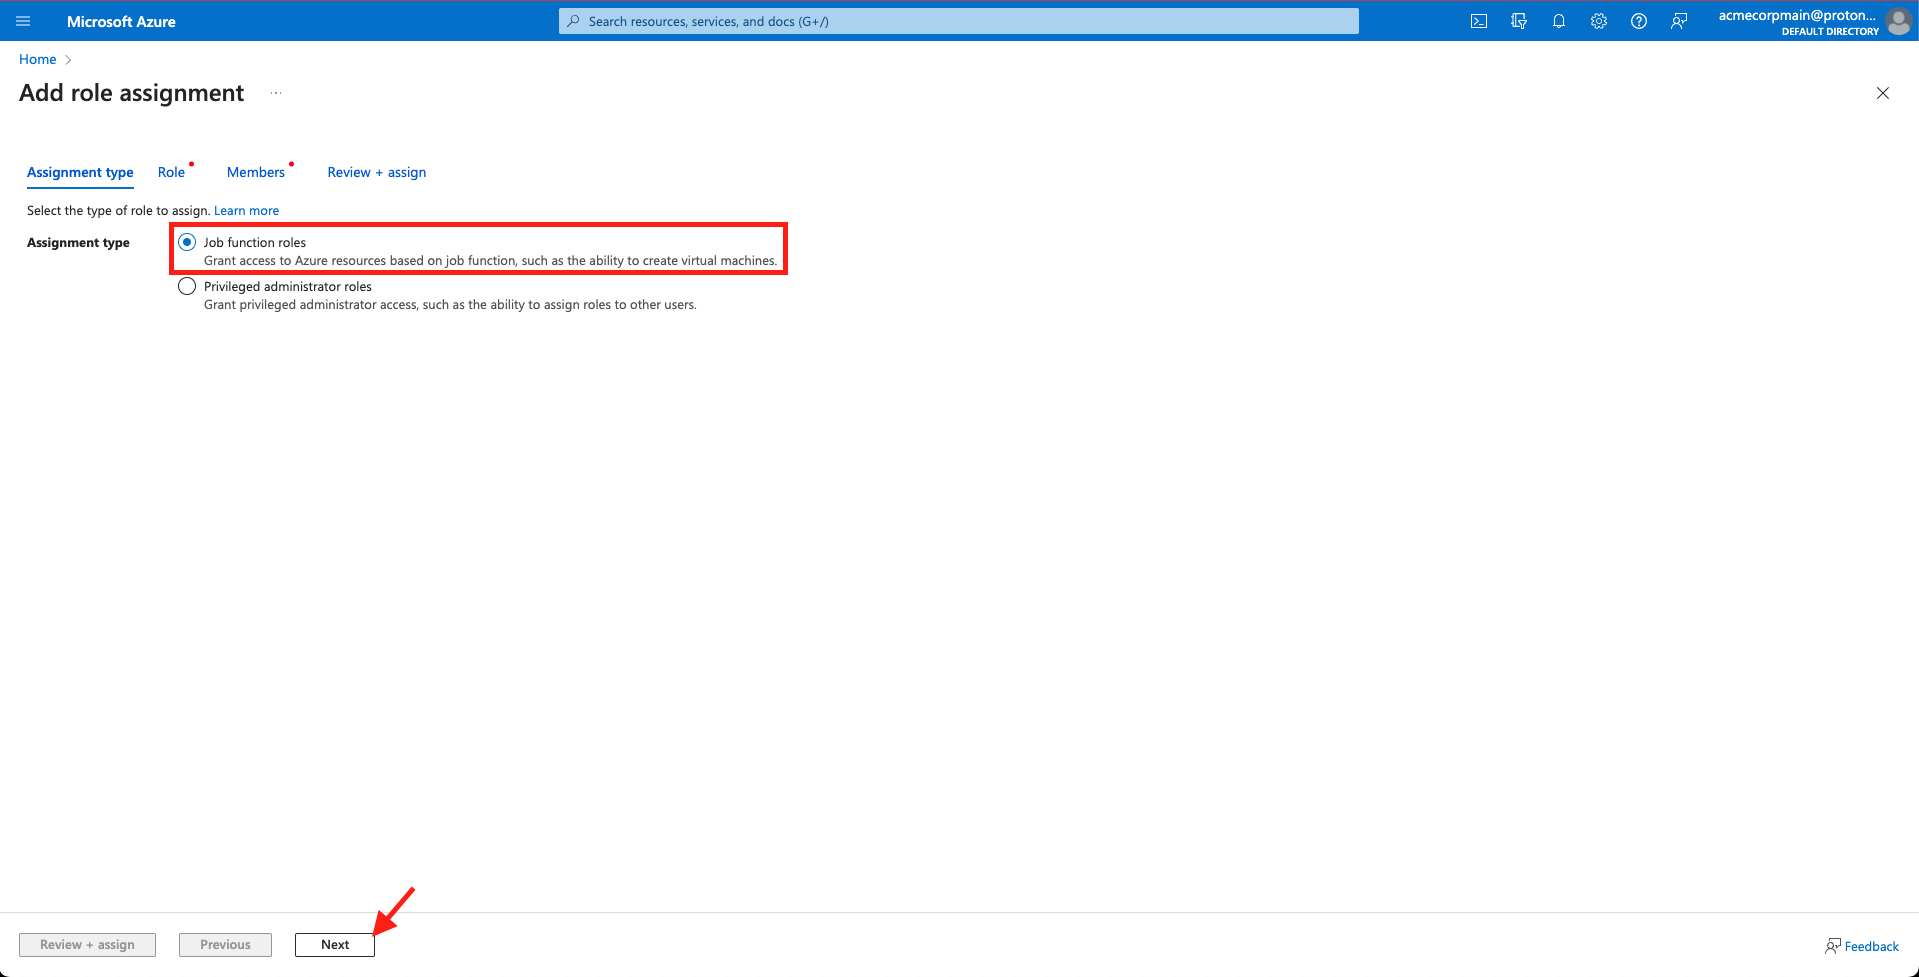
Select 'Next'
- Use the search bar to locate the role you made in Steps 1-12. Select the role and click Next.
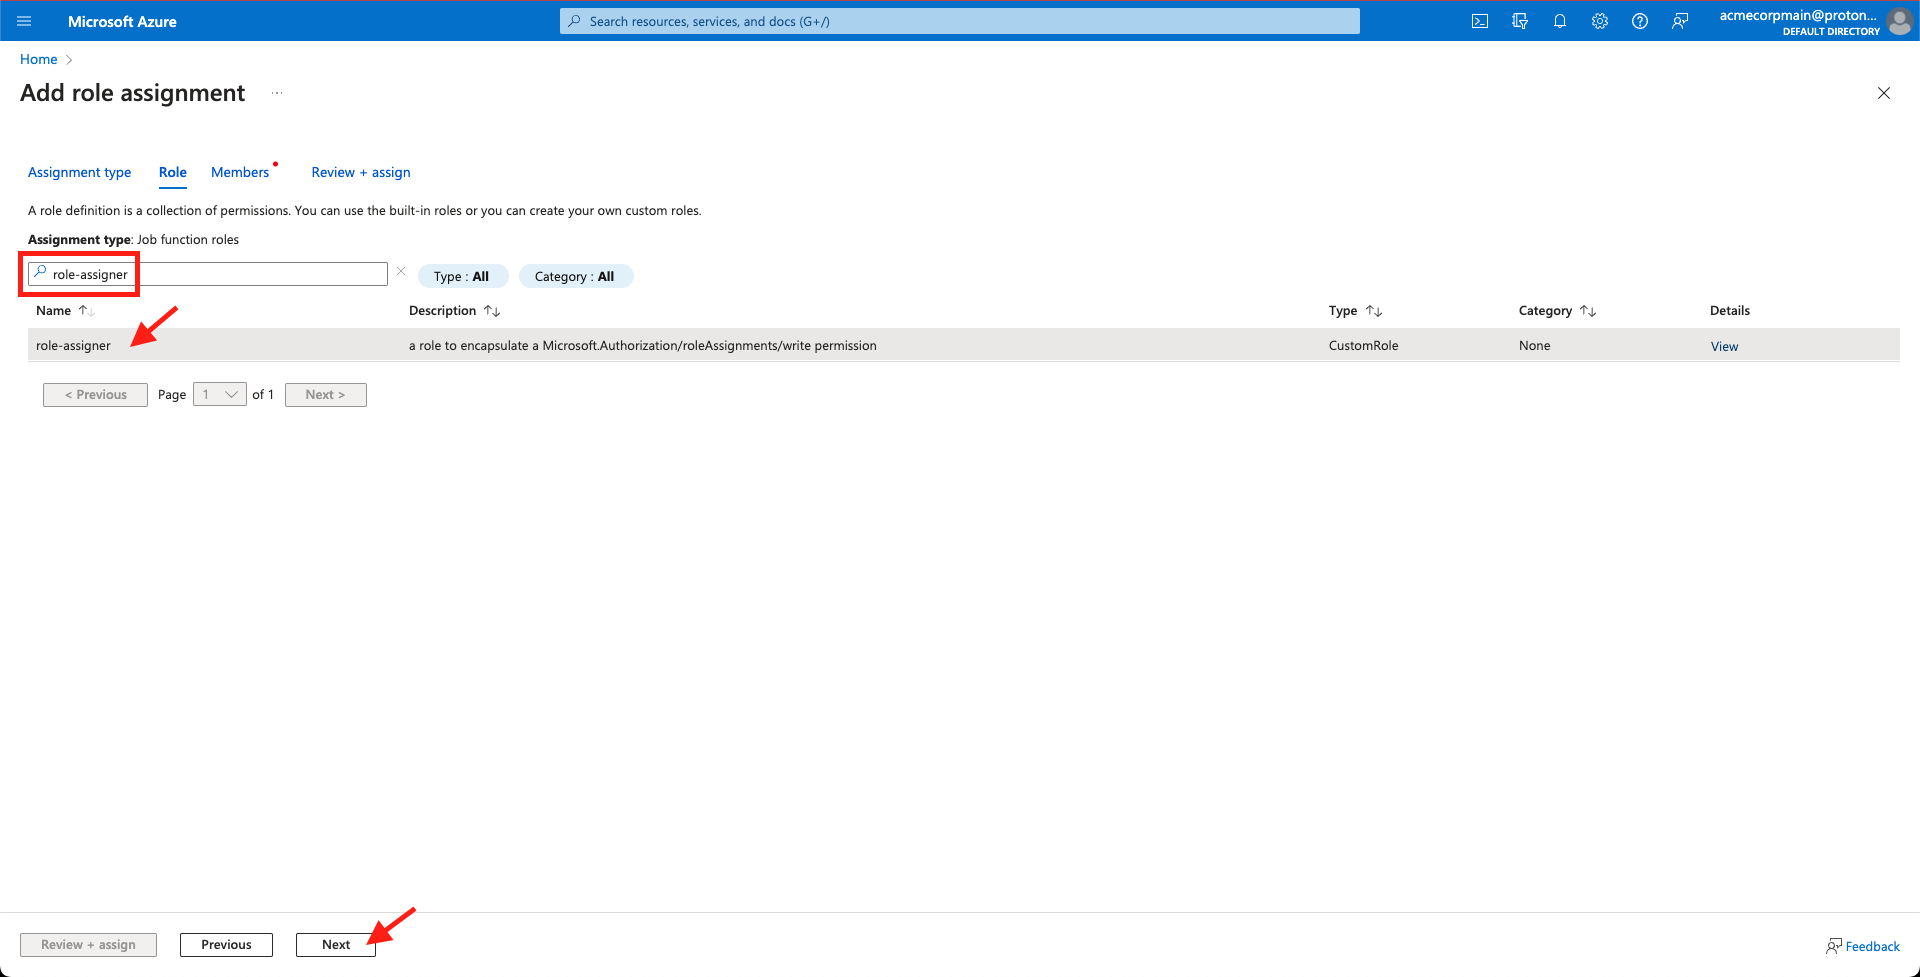
Locate and select the role from Steps 1-13 and click 'Next'
- Use the + Select members menu to search for and select the members you want assigned to the role. Click Select.
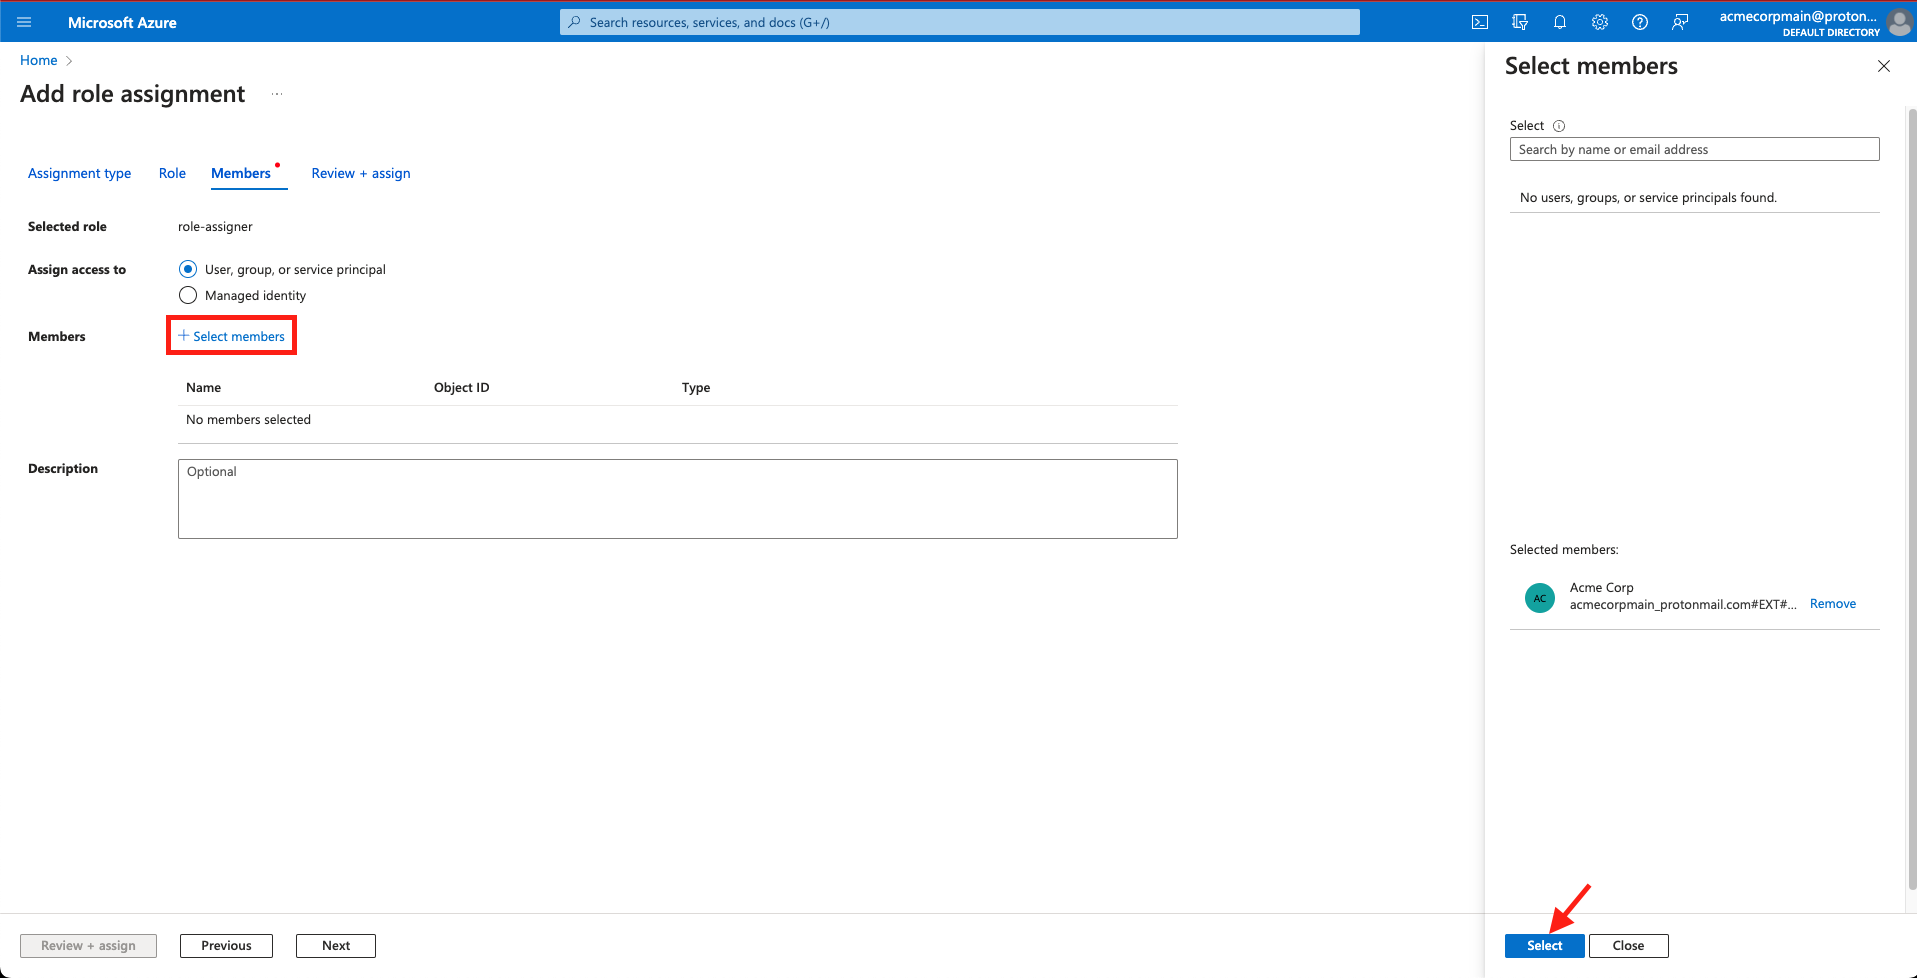
Click '+ Select members', Search for and select members, and click 'Select'
- Confirm the correct User(s) appears in the Members section, add an optional Description and then select Next.
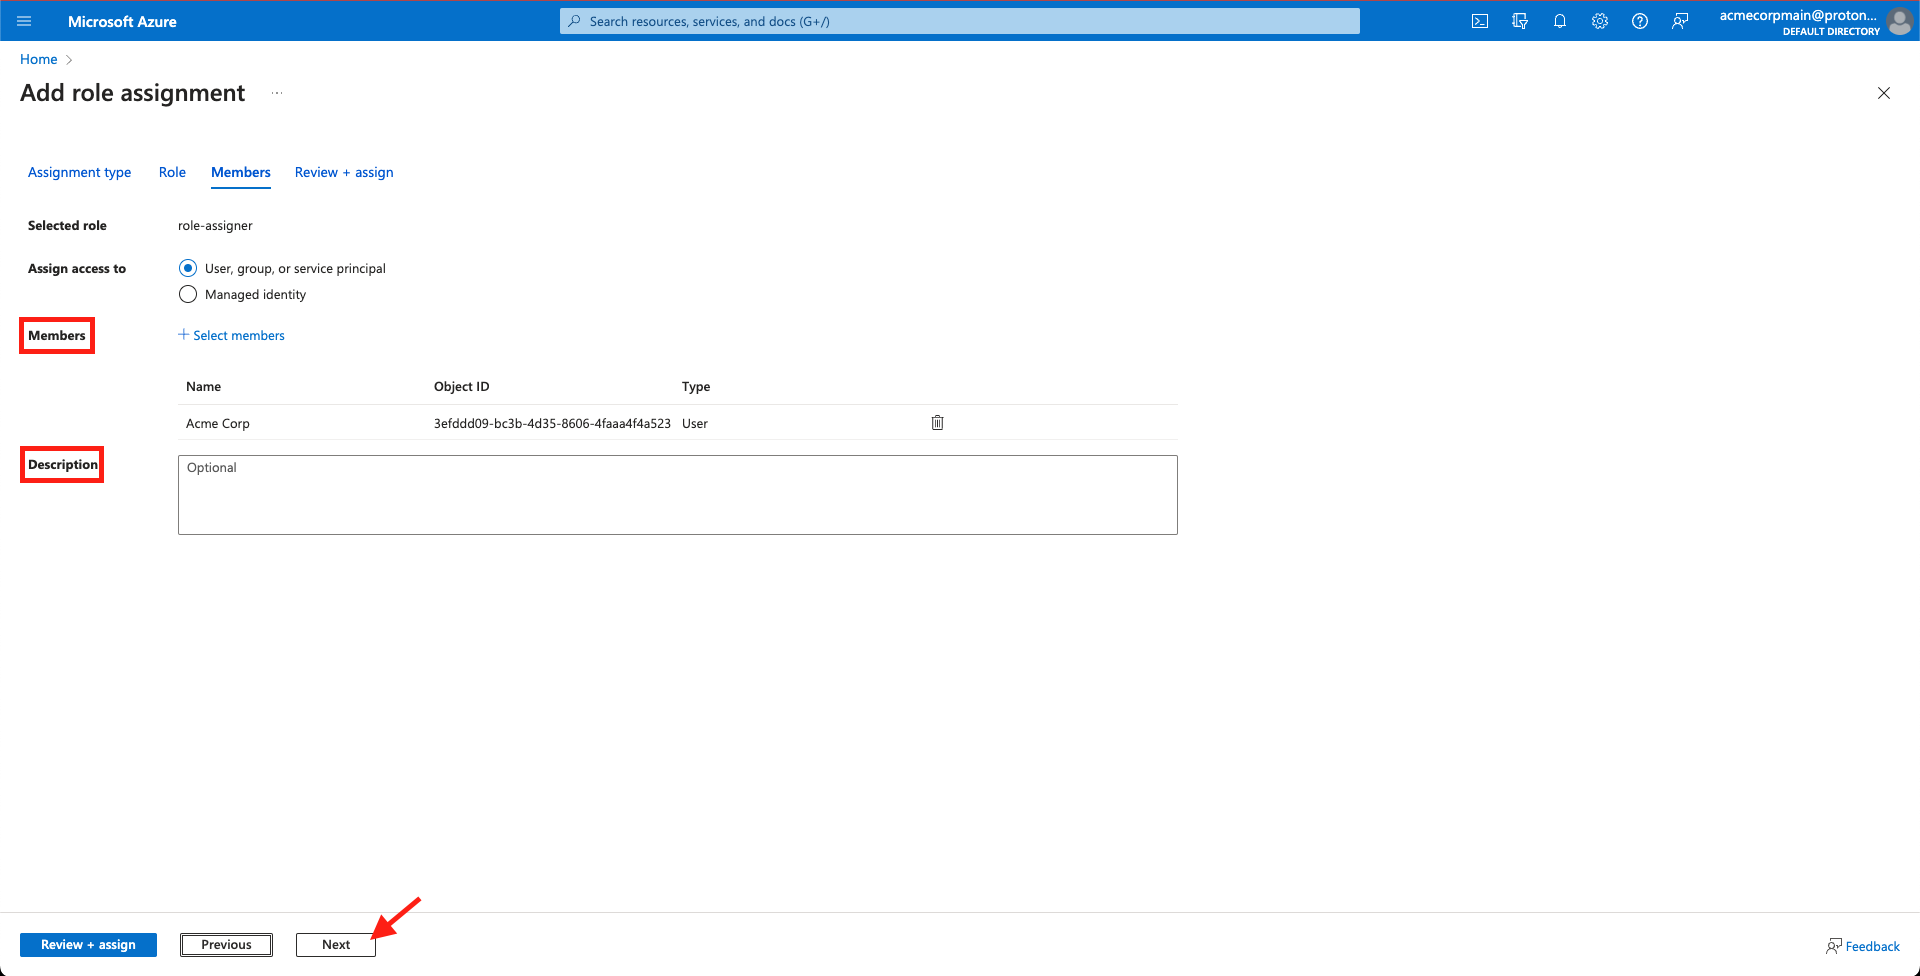
Confirm the selections and click 'Next'
- Confirm the scope and select Review + assign.
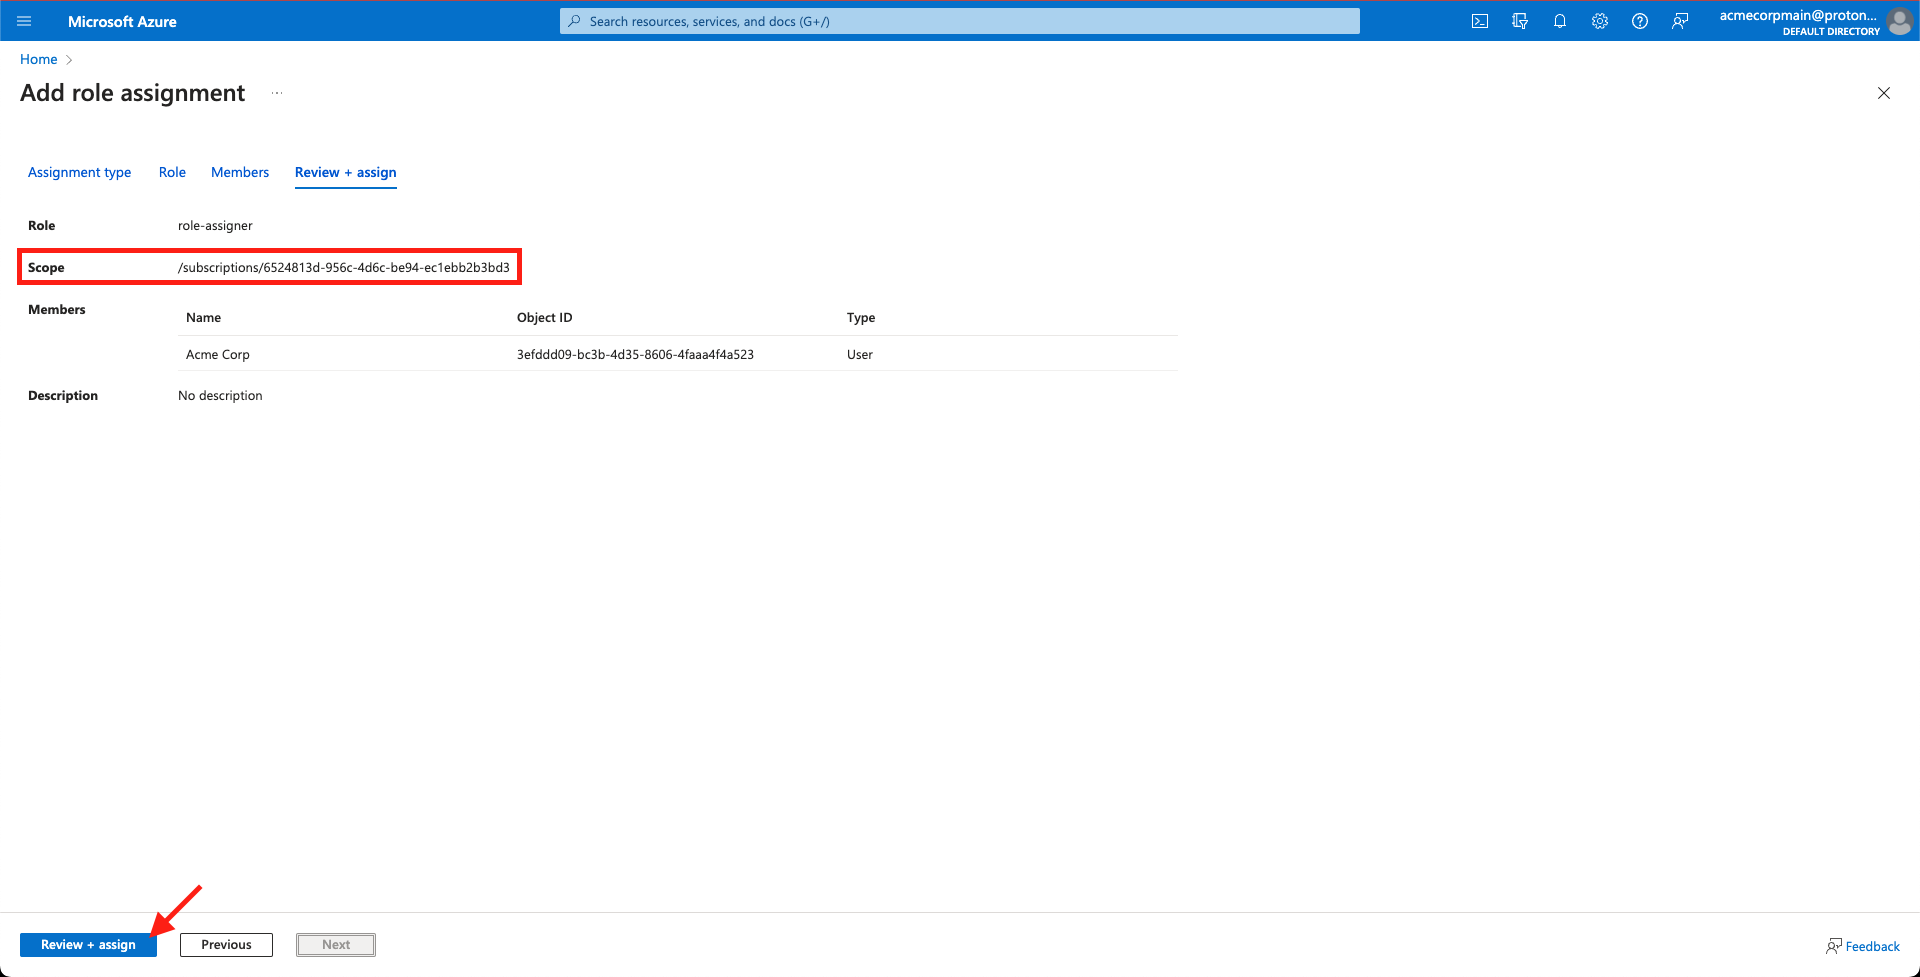
Confirm the scope and select 'Review + assign'
- You will be returned to the home screen with a confirmation that the role has been assigned.
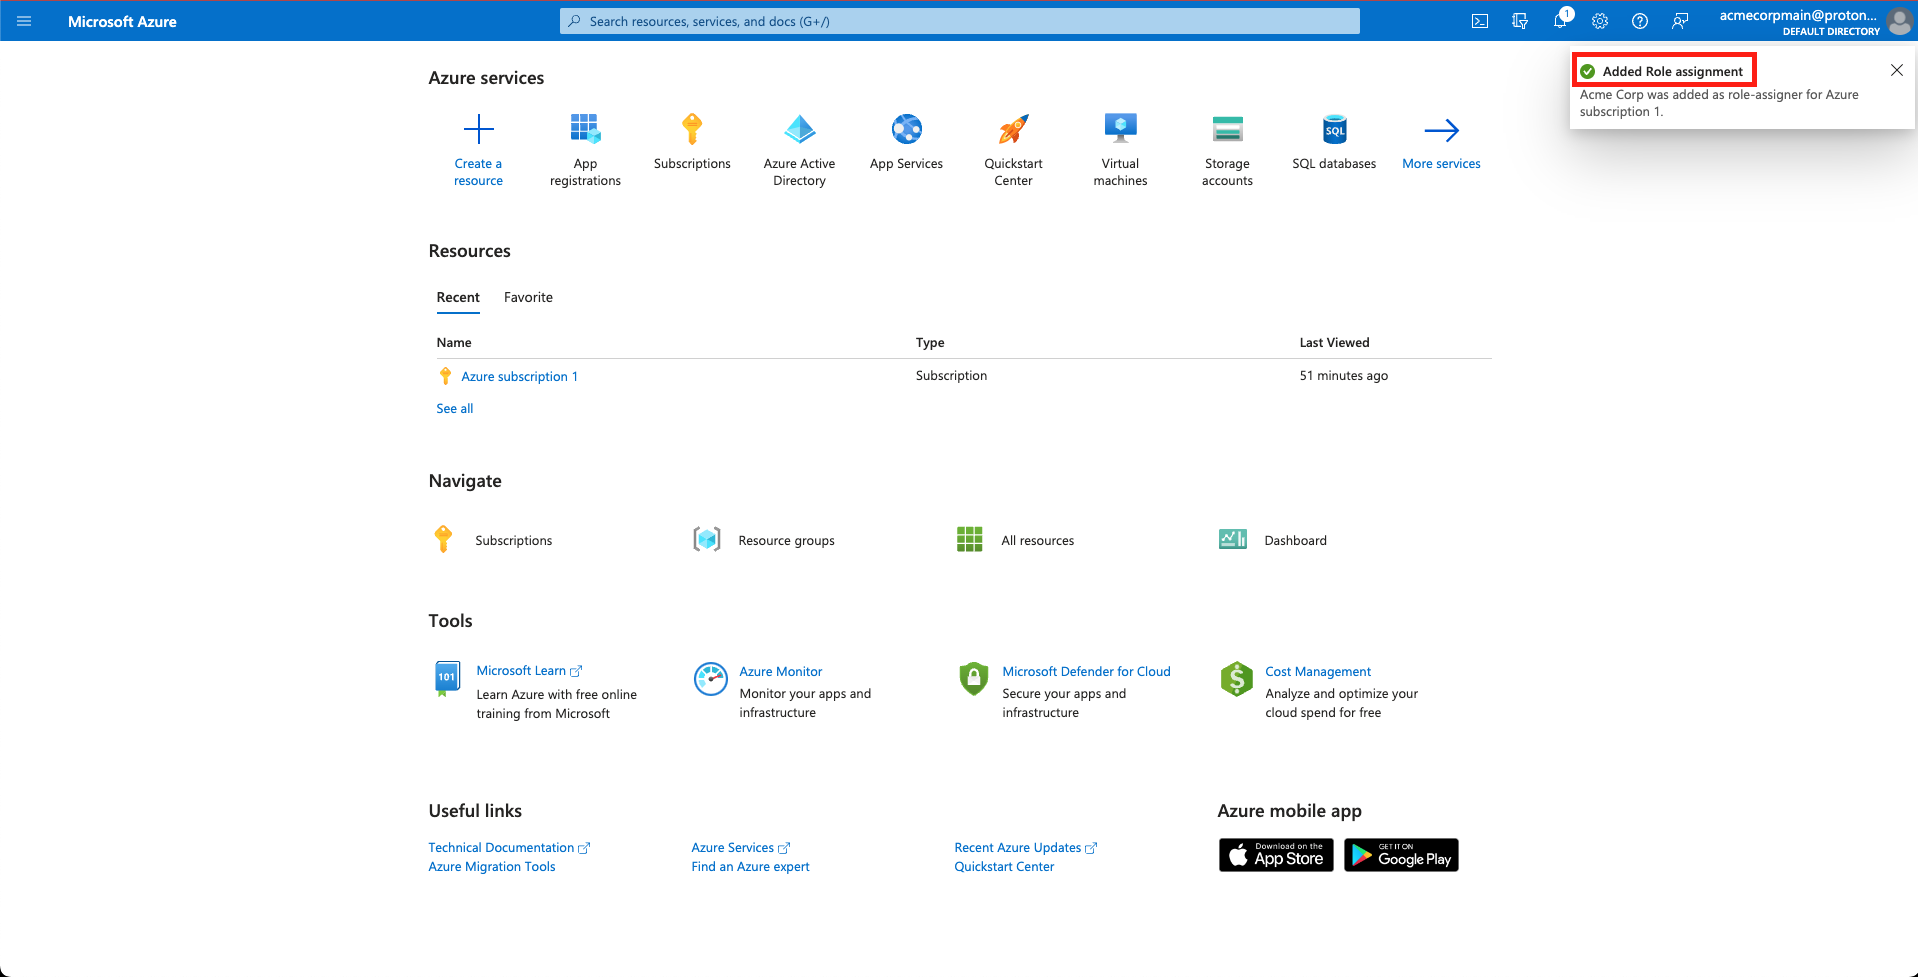
Observe the role has been assigned.
You have granted a role assignment in Azure.
The user(s) should now have access to grant resource roles to registered Apps.
Updated about 1 year ago